PURE 9015TS Owner's Manual
Browse online or download Owner's Manual for Fitness, gymnastics & weight training PURE 9015TS. PURE 9015TS Owner`s manual User Manual
- Page / 30
- Table of contents
- BOOKMARKS
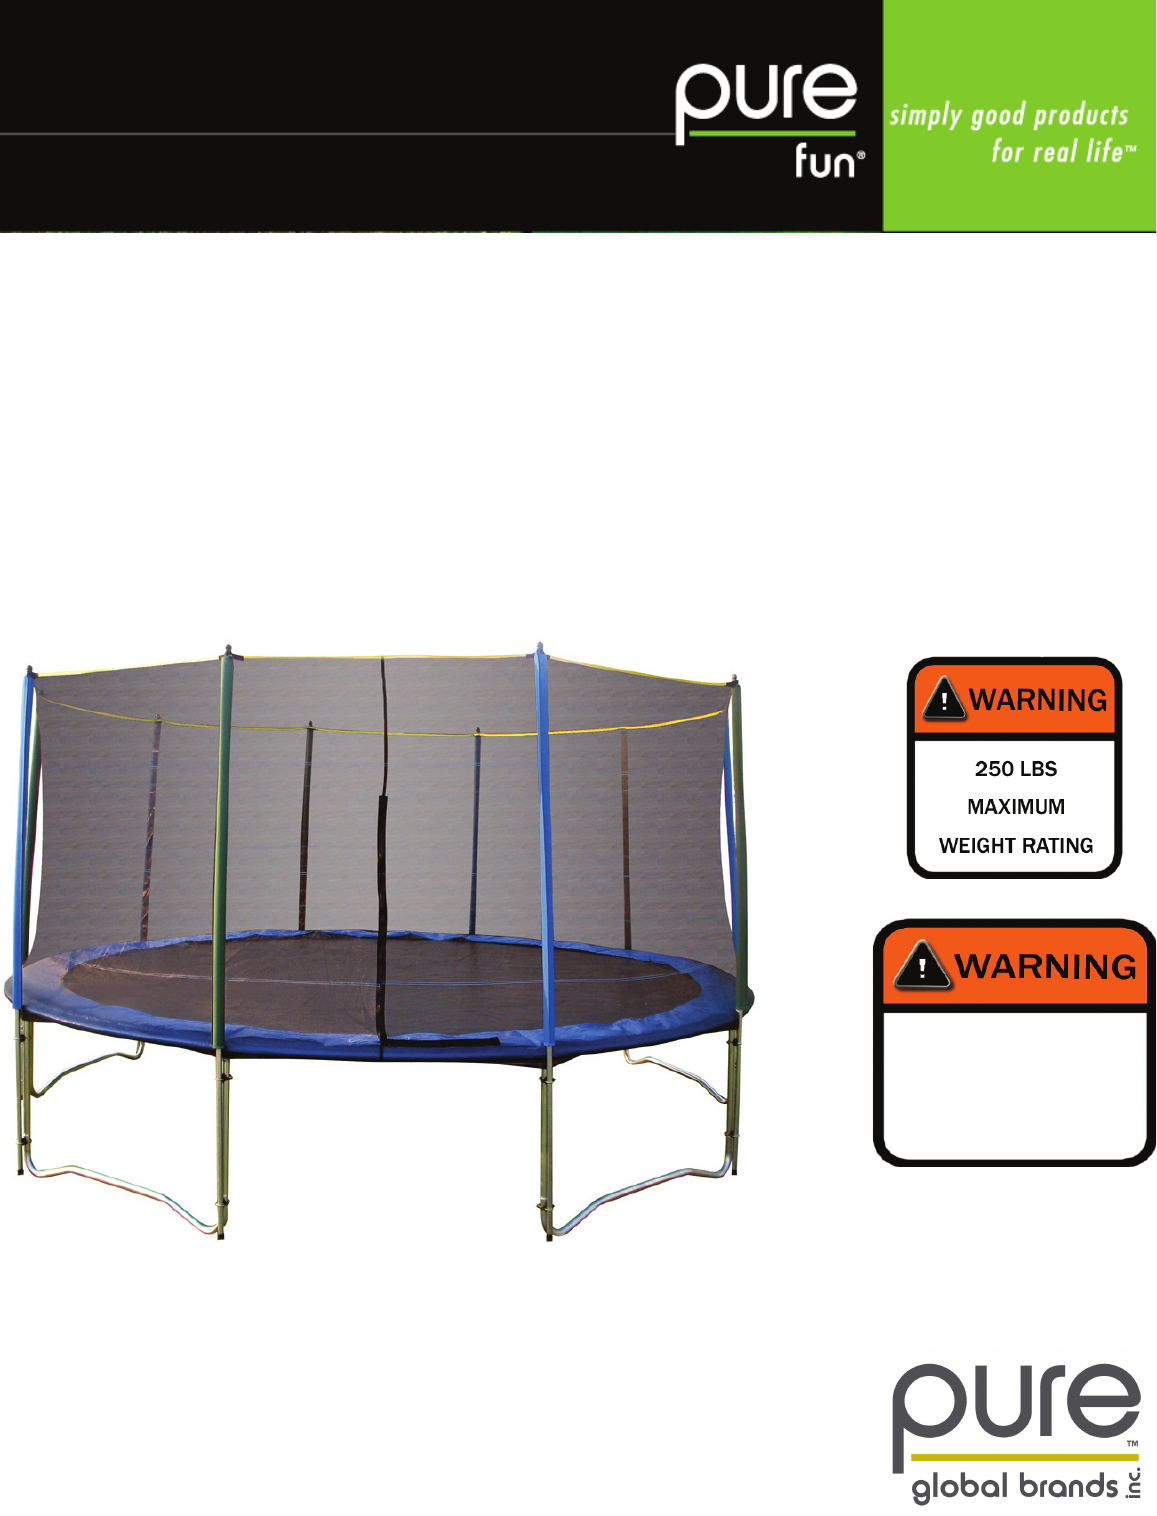
- Model No. 9015TS 1
- Owner’s Manual 1
- !Warning! 4
- WARNING 5
- IMPORTANT – PLEASE READ! 5
- THIS TRAMPOLINE HAS 5 LEGS 13
- IMPORTANT! 15
- HOW TO USE THE SPRING TOOL 16
- STEP 5 – FRAME PAD ASSEMBLY 18
- STEP1–PoleAssembly 20
- SAFETY CONCERN SITUATIONS: 26
- Trampoline Ladder-9200TL 30
- 15’ Trampoline Cover-9215TC 30
Summary of Contents
Pure Fun 15’ Trampoline/Enclosure SetModel No. 9015TSOwner’s ManualPlease read all the instructions before using this product. Consult a physician bef
Do not use the trampoline or supervise a child’s use of the trampoline when under the inuence of alcohol, drugs or medications.Allow each jumper a br
IMPORTANTItisessentialthattheintendedsiteforthistrampolineiscompletelyatandlevel.Ifthegroundisnotlevelthiswillcausemovementi
ToassemblethistrampolineyouwillneedtousetheincludedSpringTool.DonotdiscardormisplaceSpringTool.Youwillneedthistoremove/replace
WARNING: READ AND FOLLOW THESE INSTRUCTIONS, PRIOR TO ASSEMBLY AND USE OF THIS EQUIPMENT.ASSEMBLE TRAMPOLINE WHERE YOU WILL BE INSTALLING IT.ONCE IT
STEP2–TOPRAILANDSUPPORTASSEMBLY1. Slide T-section (#4) onto attened end of the top rail (#3). Ensure the hole on the side of the T-section ma
4. Fit the W-shape Leg Bases (#5) onto the Leg Ex-tensions (#6) as shown in Fig 4. Make sure they t securely into place. Fit the remaining tubes (#5)
ONCE YOUR TRAMPOLINE IS ASSEMBLED, MOVING IT REQUIRES THAT YOU USE AT LEAST3ADULTSPLACEDEQUIDISTANTAROUNDTHETRAMPOLINE.DURINGTHEMOVE, YOU MU
Thefollowingguresshowhowtoconnectthespringsandtightenthetrampolinematasevenlyaspossible:A. Using a “clock” as a relative guide, cho
STEP 5 – FRAME PAD ASSEMBLYYouwillneed2adultstoassembletheframepadtokeepitevenduringinstalla-tion. A. Lay the Frame Pad (2) over the tr
EnclosurePartsList&AssemblyInstructionsParts List - 15’ Enclosure - 10 Poles Part Number Description 15’(5Legs)1 Upper Pole 102 LowerPole
OWNERS MANUAL CUSTOMER SERVICE INFORMATION Thank you for purchasing our Pure Fun™ 15’ Trampoline/Enclosure Set.At Pure Global Brands, we want all of o
ReadtheSafetyWarninginformationonPage5beforeassemblingorusingyourEnclosure.STEP1–PoleAssemblyA. Put the Upper (1) and Lower (2) secti
STEP3–AttachSafetyNetTopA. Locate the section on the Safety Net with the zippered “doorway” and align it to the desired position you want it to
STEP4–AttachSafetyNetBottomA. Hook the Net to the V-Rings on the trampoline mat inthedirectionshowninthediagrambelow. B. The Safety Net w
CARE AND MAINTENANCEGENERAL: Your trampoline is designed for year-round outdoor use, so it generally requires very little maintenance. However, a lit
TO DISASSEMBLE AND/OR MOVEIN WINDY CONDITIONS - In severe wind conditions, the trampoline can be blown about. If you expect windy weather conditions,
INFORMATION ON USE OF THE TRAMPOLINEInitially, get accustomed to the feel and bounce of the trampoline. The focus must be on the funda-mentals of your
SAFETY CONCERN SITUATIONS:MountingandDismounting: Be very careful when getting on and off the trampoline. DO NOT mount the trampoline by grabbing th
LESSON PLANThe following lessons are recommended in order to learn basic steps and bounces before moving onto more difcult or complicated bounces. Yo
THE BASIC BOUNCE Start from standing position, feet shoulder width apart and head up and eyes on mat. Swing arms forward, up and around in a circular
FREQUENTLY ASKED QUESTIONSQuestion:“Ineedtomowthegrassundermytrampoline”or“Ineedtomovemytrampolineacrosstheyard.Whatisthebest
LIMITED WARRANTYPure Global Brands, Inc. warrants this product to be free from defects in workmanship and materials under normal use and conditions fo
Pure Fun Trampoline AccessoriesTrampolineAnchorKit-9201AKThe Pure Fun Trampoline Anchor Kit is designed to help secure large trampolines against
WARNINGCHOKING HAZARD – Small partsNOTforchildrenunder3years.!Warning!While every attempt is made to ensure the highest degree of protection i
WARNINGIMPORTANT – PLEASE READ!WARNINGS – GENERAL SAFETY ADVICEEnsure the trampoline has been assembled correctly, per the instructions in the manual
WARNINGIMPORTANT – PLEASE READ!WARNINGS – GENERAL SAFETY ADVICEWe only recommend using the Enclosure with Pure Fun™ Trampolines. Any alterations to t
TRAMPOLINE PLACEMENTThe minimum overhead clearance required is 26 feet (8 meters). Ensure that no hazards or obstruc-tions are near the trampoline suc
Care & UseThis trampoline must be assembled by adults. It must be erected exactly as detailed in the assembly instructions. Two adults are requi
The frame of your trampoline is made of steel and it will conduct electricity. No electrical equipment (lights, heaters, extension cords, household ap
© 2020, manymanuals.com. All rights reserved. | 1.566 s |
 Manymanuals.com
 Manymanuals.de
 Manymanuals.fr
 Manymanuals.it
 Manymanuals.pl
 Manymanuals.cz
 Manymanuals.es
 Manymanuals-pt.com
Comments to this Manuals